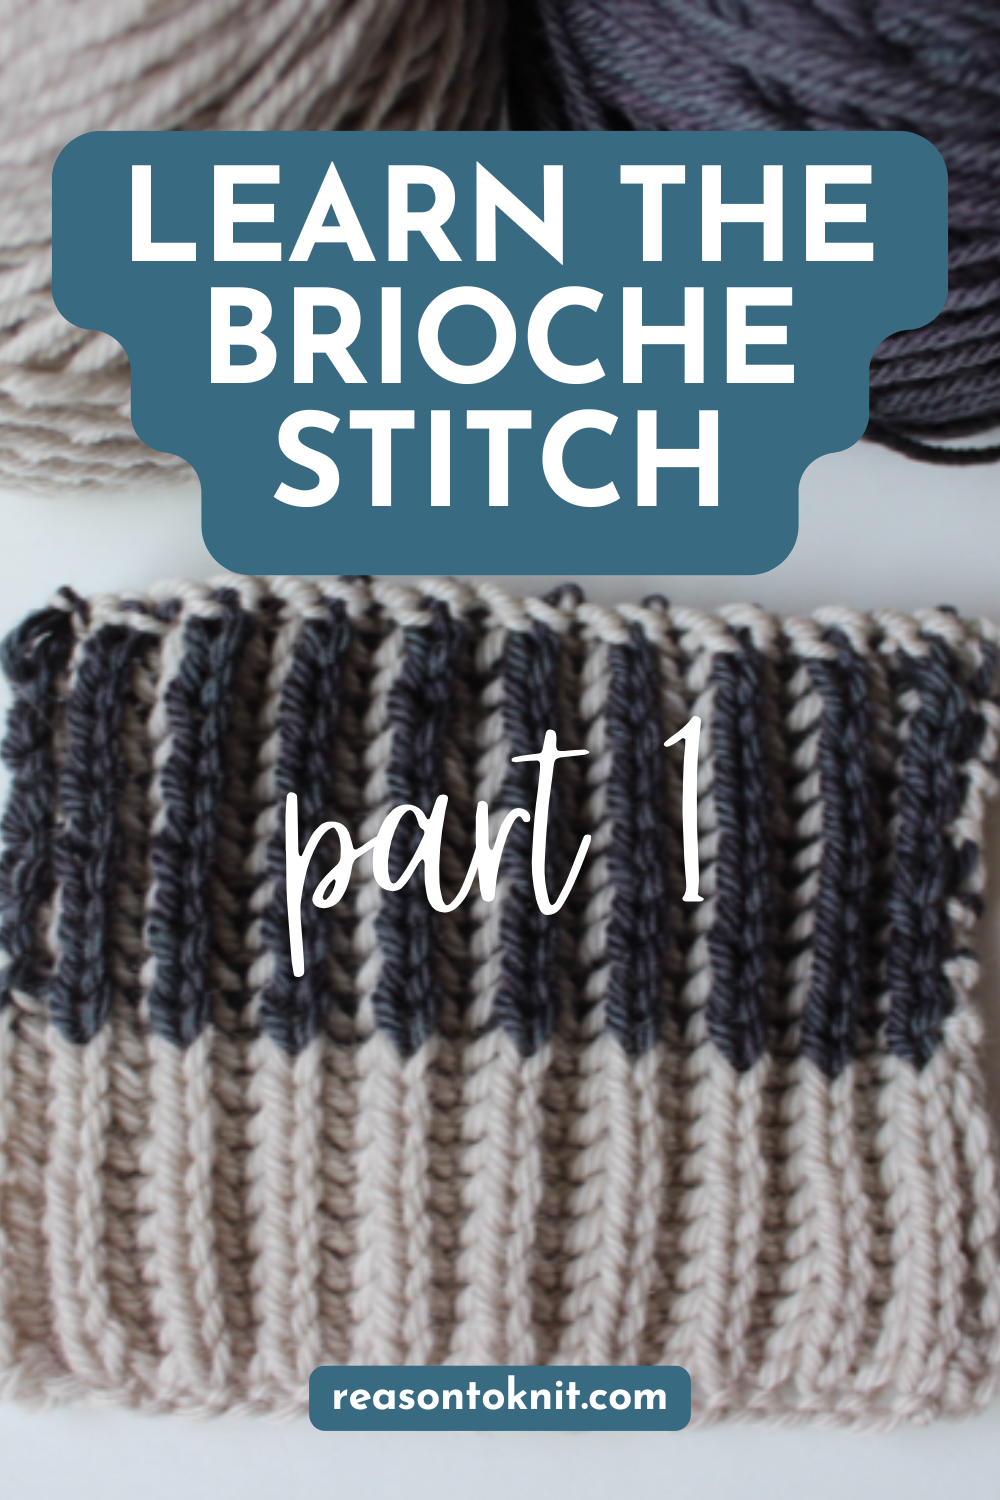
Brioche Series: Brioche Basics
The brioche stitch pattern creates a dense, squishy fabric with ease. Once you get past the intimidating abbreviations and get the hang of the make up of the stitch, your fabric will be flying off your needles.
In this four part series, I will discuss the brioche technique from beginning to end.
Part 1: Brioche Basics - the basic brioche knit stitch and cast on and bind off methods to use with brioche.
Part 2: Next Level Brioche - the brioche purl stitch and how to knit two color brioche.
Part 3: Top Notch Brioche - how to knit brioche in the round and brioche increases and decreases.
Part 4: Uh Oh Brioche - how to fix brioche mistakes.
This is Part 1. So let’s get started!
Casting on and binding off
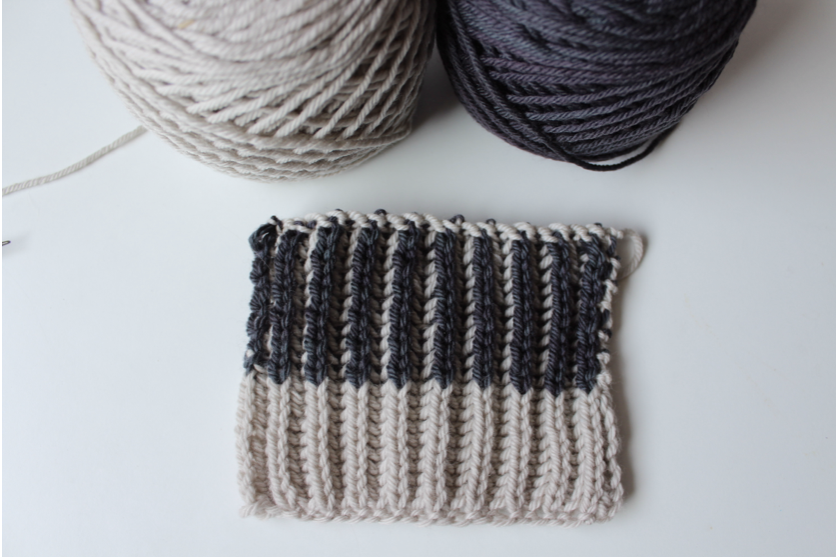
It is recommended that you go down a needle size or two from the size called for on your yarn to help control fabric flexibility. Given the stretchiness of the pattern, it is also recommended to cast on and bind off loosely to match the natural stretch of the stitch. In my sample square, I used the German Twisted Cast On and Super Stretchy Bind Off.
Brioche Pattern
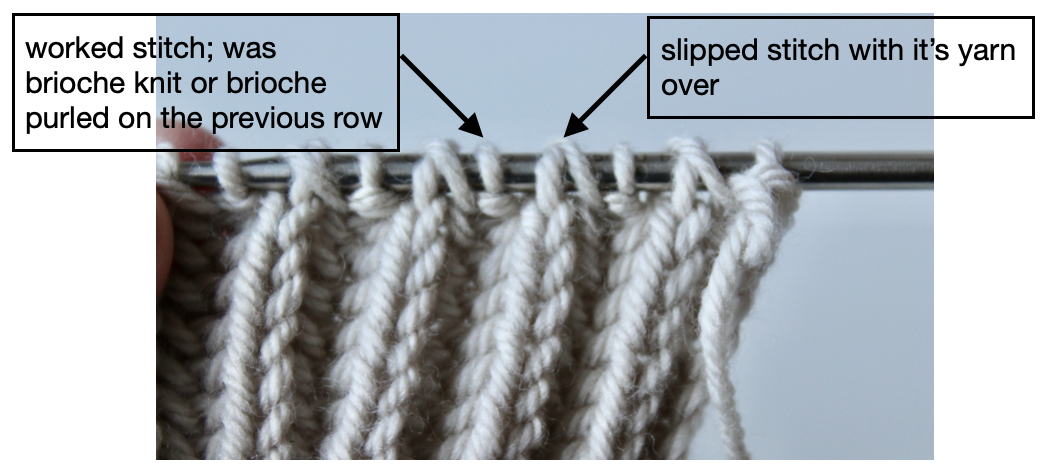
The brioche pattern consists of two stitches, one that is worked and the other that is slipped with an accompanying yarn over. I like to think of the yarn over like a “shawl” wrapped around the brioche stitch. You will notice the yarn over (yo) isn’t really a “single move” as it is if you were creating a button hole or adding a stitch. See the third note below for more.
Abbreviations
sl1yo: move the yarn to the front (if it is not already there), slip the next stitch purlwise, yarn over
brk: brioche knit; knit the next stitch together with it’s yarn over
brp: brioche purl; purl the next stitch together with it’s yarn over
A few notes
The slipped stitch along with its “shawl” yarn over counts as ONE stitch. This stitch will be knit or purled on the next row.
You will either complete a brioche knit (abbreviated brk and commonly pronounced “bark”) or brioche purl (abbreviated brp and commonly pronounced “burp”). This is simply knitting (brk) or purling (brp) the slipped stitch with it’s yarn over as one stitch.
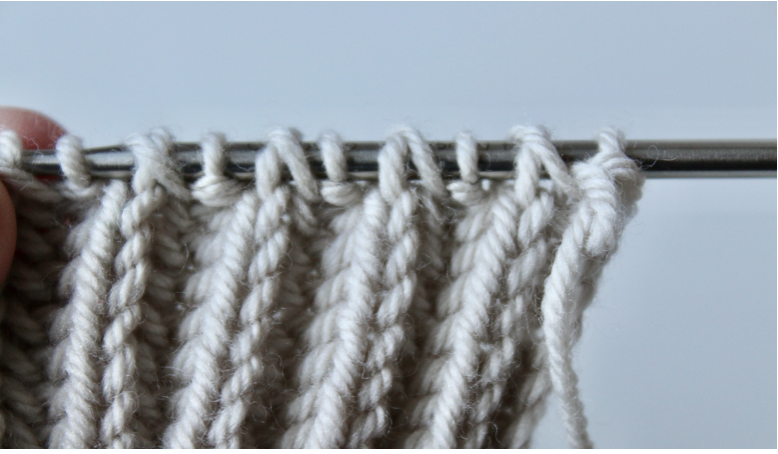
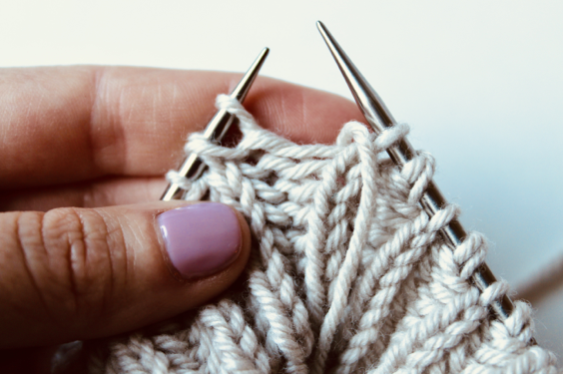
Although the abbreviation is sl1yo, you must make sure that your yarn is in the front of your work before you slip the stitch. Then complete the yarn over after slipping the stitch. To be more specific, when you are on a brk row, your working yarn is in the back of your work. You must bring the yarn to the front of your work, slip the next stitch, then compete the yarn over. For a brp row, your yarn is already in the front of your work so you can slip the next stitch and then complete your yarn over. Pictures of this process for the brk row are below!
S1YO, BRK1
Directions for the (sl1yo, brk) row are below.
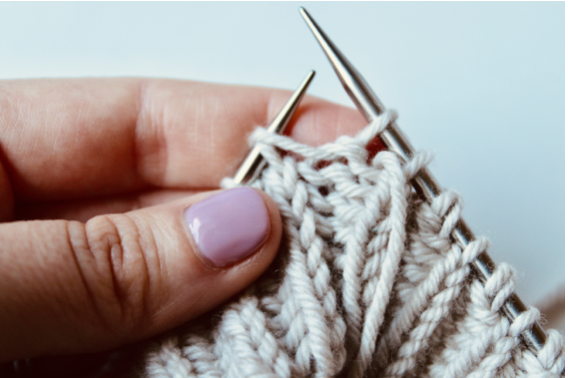
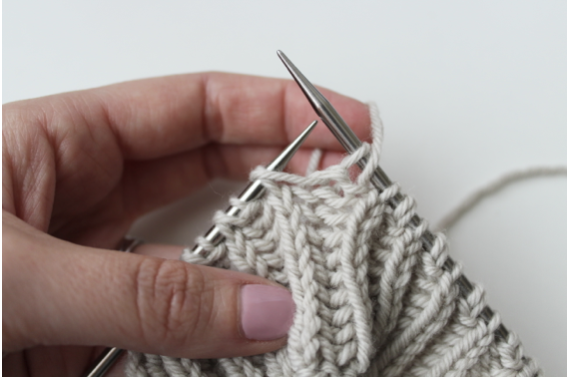
To s1yo on a brioche knit row:
First, bring the working yarn to the front of your work.
Next, slip the next stitch purlwise.
Last, complete the yarn over by bringing your working yarn to the back.
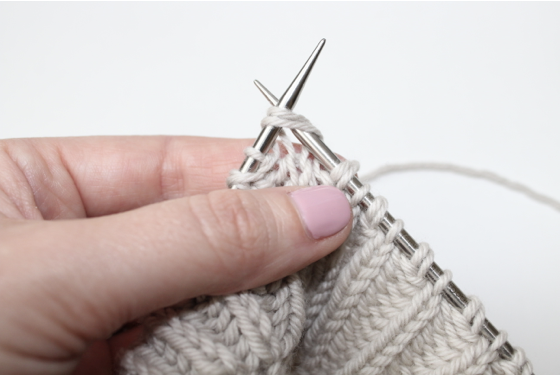
Brk: Knit the slipped stitch together with its yarn over.
Give it a try!
Below is a very simple sample pattern to get the hang of the brioche knit stitch. Refer back to the picture directions for the brk stitch above.
Grab a DK or Worsted weight yarn and needles two sizes down from the recommended size.
One Color Brioche Sample
Cast on 20 stitches loosely. See the section above with a recommended cast on method.
Set up round: {sl1yo, k1} repeat to the end of the row; turn work. This requires you to start with your yarn in the front of your work!
Row 1: {s1yo, brk1} repeat to the end of the row; turn work.
Repeat row 1 as many times as you would like to get the rhythm of the pattern. It takes about 8-10 rows for the stitch pattern to clearly appear.
That’s it! Keep on a’keepin’ on and you will have some squishy, ribbed fabric before you know it.
Keep your swatch on your needles and stay tuned for Part 2 where we will learn the brioche purl stitch and add a second color!
How did you do? Let me know in the comments!